
Table of Contents
- What You'll Need Before You Start Shooting
- Master Composition and Natural Light to Improve Smartphone Photography Quality
- Best Smartphone Camera Settings for Sharper, Better-Exposed Photos
- Lens-Specific Techniques and AI Computational Photography Features
- Smartphone Photography Accessories That Actually Make a Difference
- How to Edit Phone Photos Like a Pro
- Common Mistakes That Hurt Smartphone Photography Quality
- Conclusion
Last Updated: August 19, 2026
What You'll Need Before You Start Shooting
Smartphone photography quality depends far more on technique than hardware. Before you touch your camera app, run through this checklist:
- Clean your lens. A smudged lens is the single most common cause of soft, hazy images. Use a microfiber cloth, not your shirt.
- Check your storage and settings. Know whether you're shooting in RAW, HEIF, or JPEG before you start.
- Charge your device. Low battery triggers power-saving modes that throttle camera processing.
- Disable digital zoom. Set your default to 1x and move your feet or switch lenses instead.
- Enable the grid. Turn on the rule-of-thirds overlay in your camera settings.
| Preparation Step | Why It Matters | Time Required |
|---|---|---|
| Clean the lens | Removes haze that kills sharpness | 30 seconds |
| Enable grid lines | Improves composition instantly | 30 seconds |
| Set file format | Controls image quality and editability | 1 minute |
| Disable digital zoom | Prevents resolution loss | 30 seconds |
| Full battery charge | Prevents processing throttle | 15+ minutes |
These steps take under three minutes and cost nothing.
Master Composition and Natural Light to Improve Smartphone Photography Quality
Smartphone photography quality improves dramatically when you treat composition as the first decision, not the last.
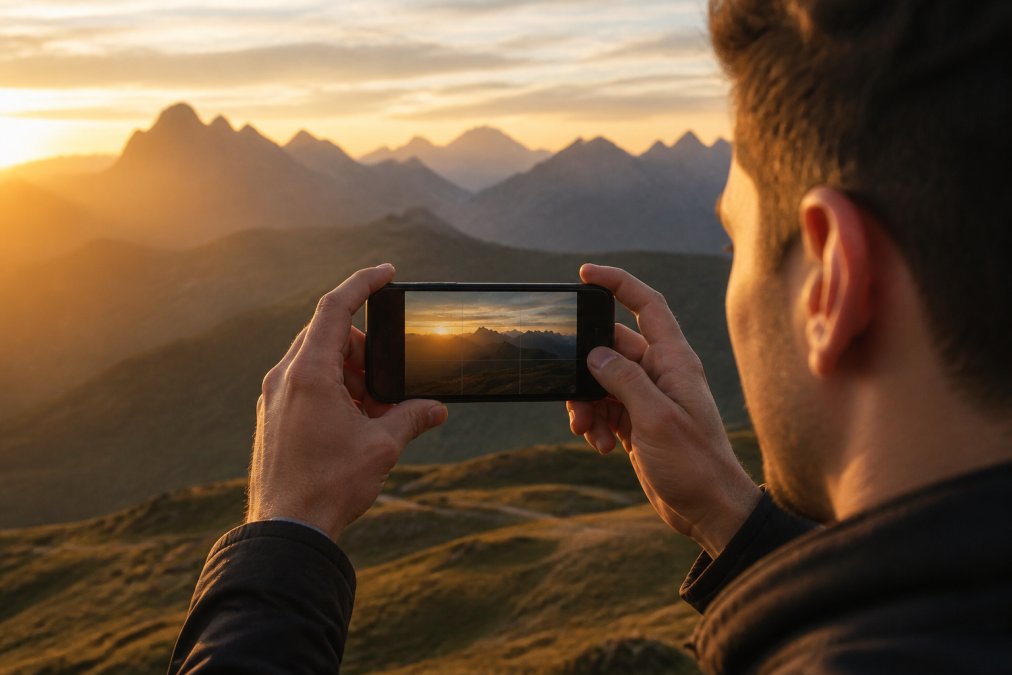
Use the Grid for Rule of Thirds and Leading Lines
The rule of thirds divides your frame into a 3x3 grid. Placing your subject at one of the four intersection points creates visual tension that draws the viewer in. Leading lines, roads, fences, rivers, shorelines, that enter from a corner and draw the eye toward your subject add depth and dimension.
Practical steps for better composition:
- Enable the grid in your camera settings
- Before shooting, identify where your subject sits on the grid
- Scan the frame edges for distracting elements
- Look for natural lines that point toward your subject
- Try both horizontal and vertical orientations
Golden Hour, Dynamic Range, and Avoiding Harsh Shadows
Midday sun exceeds what most smartphone sensors can handle. The dynamic range gap between highlights and shadows produces blown-out skies and crushed shadows.
Golden hour, the first and last hour of daylight, solves this automatically. The light is directional, warm, and soft. When you can't shoot at golden hour, find open shade for even, diffused light without extreme contrast.
Best Smartphone Camera Settings for Sharper, Better-Exposed Photos
Auto mode makes compromises that show up in low light, fast movement, and high-contrast scenes. Understanding manual controls gives you the edge you need.
Manual Controls: ISO, Shutter Speed, and White Balance
ISO: Keep it as low as possible. Higher ISO amplifies noise. In bright light, ISO 50 or 100 is ideal. Anything above ISO 800 introduces visible grain on most smartphones.
Shutter speed: Faster speeds freeze motion. For handheld shooting, stay above 1/60s to avoid camera shake. For moving subjects, go at least 1/250s.
White balance: Auto white balance is reliable outdoors but shifts unpredictably indoors. Setting manual white balance keeps your colors consistent across a series of shots.
Focus Lock, Exposure Lock, and Exposure Compensation
Pressing and holding on your subject locks both focus and exposure (AE/AF lock). This prevents the camera from reacquiring focus mid-shot. Exposure compensation is the slider that appears after you tap to focus, drag it up to brighten, down to darken. Use it instead of relying entirely on auto exposure, especially with strong backlighting.
AE/AF lock is also your best tool for creative exposure control. Lock focus on your subject, then drag the exposure slider to deliberately underexpose or overexpose for effect.
Lens-Specific Techniques and AI Computational Photography Features
Modern smartphones ship with multiple physical lenses. Most people treat them as a zoom dial, leaving significant creative control unused.
Ultra-Wide vs. Telephoto: When to Switch Lenses
Ultra-wide lenses (0.5x or 0.6x) excel at landscapes, architecture, and tight interiors. The expanded field of view creates dramatic perspective distortion. Keep subjects at least two meters away when using ultra-wide, as it distorts faces at close range.
Telephoto lenses (2x, 3x, 5x or higher) compress perspective and create shallow depth of field and background separation. For portraits, food photography, and isolating subjects from busy backgrounds, telephoto is almost always better than the default 1x lens.
RAW vs. HEIF/JPEG: Choosing the Right File Format
RAW format captures unprocessed sensor data, giving maximum flexibility in post-processing. The downside: large files that don't look impressive straight out of the camera and require editing software.
HEIF offers better compression than JPEG with comparable quality while preserving more data, and it remains immediately shareable.
JPEG is universal and instantly usable, with in-camera processing applied. You lose editing headroom but gain immediate usability.
Practical recommendation: shoot RAW when you have time to edit, shoot HEIF or JPEG when you need images immediately. Many photographers use RAW+JPEG simultaneously. Some computational modes apply processing that cannot be replicated in post-production, so the processed JPEG may contain information the RAW file doesn't.
Smartphone Photography Accessories That Actually Make a Difference
Worth it:
- Clip-on lens kits: Quality multi-lens kits add macro, wide-angle, and telephoto options. Look for optical glass elements and precision machined mounts.
- Mini tripod or GorillaPod: Eliminates camera shake for long exposures, night photography, and self-portraits.
- Shutter remote: A Bluetooth remote lets you trigger the camera without touching the phone, eliminating micro-vibration from the on-screen button.
- Lens cleaning cloth: Microfiber only. Keep one in your bag.
Skip it:
- Clip-on lenses with plastic optics introduce more distortion than they correct
- Ring lights without diffusers, which create harsh, unflattering light
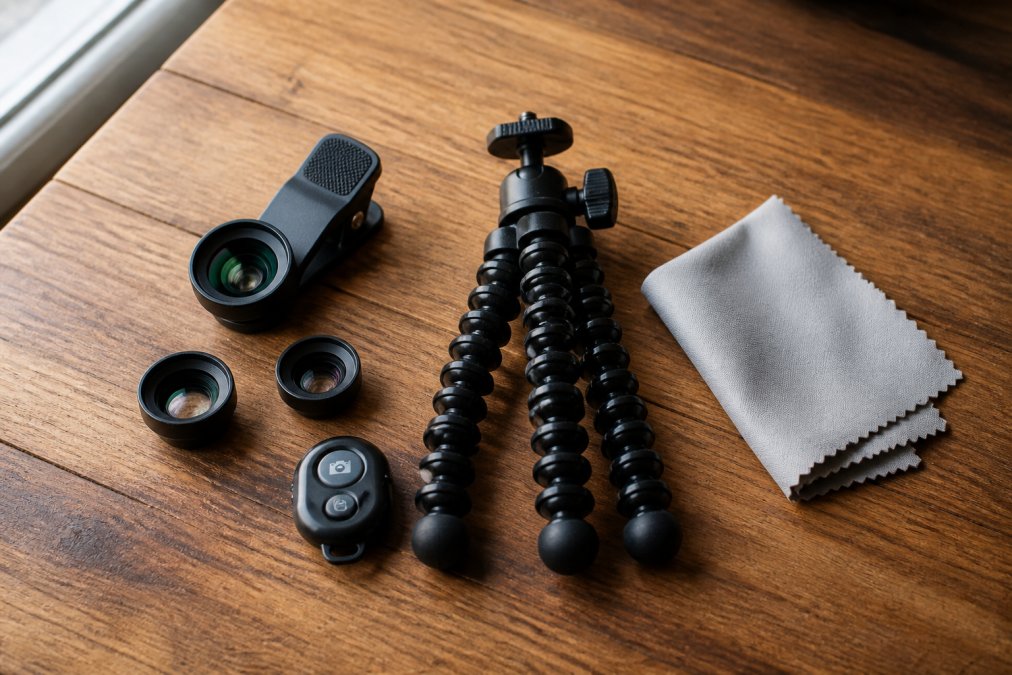
Gear Up & Go's 11-in-1 smartphone lens kit is built around optical glass elements with precision-fit mounts. For photographers serious about improving their smartphone photography, a quality lens kit adds capabilities your phone's hardware simply doesn't have.
How to Edit Phone Photos Like a Pro
Capturing a good image and finishing a great one are two different skills.
Exposure, Color Grading, and Noise Reduction Basics
Start with global adjustments in this order:
- Exposure: Get overall brightness right first.
- Highlights and shadows: Recover blown highlights and open up shadow detail.
- Whites and blacks: Set true white and black points for contrast and depth.
- Color temperature and tint: Correct color cast from artificial lighting.
- Noise reduction: Apply last, after all other adjustments.
Color grading develops visual style. Adjust HSL sliders for individual color channels rather than pushing global saturation, which oversaturates skin tones.
Cloud Storage and Workflow Management
A shooting workflow without backup is a liability. Enable automatic upload to your preferred cloud service immediately after shooting. Create albums or folders by date, location, or subject. Edit on the original RAW and export finished JPEGs as separate files, preserving your ability to re-edit later.
For photographers who shoot frequently, a consistent workflow from capture to archive takes less than five minutes per session.
Common Mistakes That Hurt Smartphone Photography Quality
1. Shooting through a dirty lens. A clean lens takes thirty seconds. A hazy image can't be fixed in post.
2. Relying on digital zoom. Digital zoom is a crop, not magnification. Switch to a longer optical lens or move closer.
3. Tapping to focus without locking. Use AE/AF lock for any shot where your subject isn't moving.
4. Shooting in harsh midday light. Move to shade or wait for better light.
5. Over-sharpening in editing. Sharpening amplifies noise. Apply sparingly after noise reduction.
6. Ignoring the background. A cluttered background undermines the entire image. Scan the full frame before shooting.
7. Not experimenting with lens choice. Shoot the same subject with each lens and compare to understand how focal length affects perspective.
The photographers who improve fastest shoot deliberately, review their work critically, and make one specific change at a time.
Improving smartphone photography quality is a process of eliminating bad habits and building better ones. Gear Up & Go's smartphone photography kit, including the 11-in-1 lens system with optical glass elements, gives you the physical capabilities to go beyond what your phone's built-in hardware offers. Add a compact tripod and a Bluetooth shutter remote, and you have a complete field kit that fits in a jacket pocket.
Frequently Asked Questions
How do I improve my phone's camera quality without buying a new phone?
Clean your lens first, smudges alone cause significant blur and reduce sharpness. Then switch to manual or pro mode to control ISO, shutter speed, and white balance instead of letting auto mode guess. Shoot in RAW or HEIF format to preserve detail for editing. Add a clip-on lens kit for wider or closer shots your built-in lenses can't cover. Finally, use a free editing app to adjust exposure and color grading after the shot.
What are the best smartphone camera settings for sharp photos?
For most situations, keep ISO as low as possible (ISO 50-100 in daylight) to reduce noise, set shutter speed fast enough to freeze motion (1/250s or faster for moving subjects), and lock both focus and exposure by tapping and holding your subject on screen. Turn on the grid to guide composition. In low light, raise ISO gradually and use a tripod or stabilization rather than digital zoom, which only crops and degrades the image.
Do I need extra accessories to improve smartphone photo quality?
You don't need accessories for every shot, but a few tools make a real difference in specific situations. A tripod eliminates camera shake in low light and long exposures. A shutter remote lets you trigger the shot without touching the phone. Clip-on lenses extend your focal length options beyond what your phone's built-in lenses offer, especially useful for macro photography or wide landscape shots. A lens cleaning cloth is the cheapest and most overlooked accessory that instantly improves sharpness.
What is the role of composition in smartphone photography?
Composition determines where the viewer's eye goes first and how balanced the image feels. The rule of thirds places your subject off-center at one of four grid intersections, which tends to look more dynamic than dead-center framing. Leading lines, roads, fences, rivers, draw the eye through the frame toward your subject. Depth of field and bokeh separate subjects from busy backgrounds. Strong composition costs nothing and often has more impact on image quality than any camera setting or accessory.
This article was written using GrandRanker